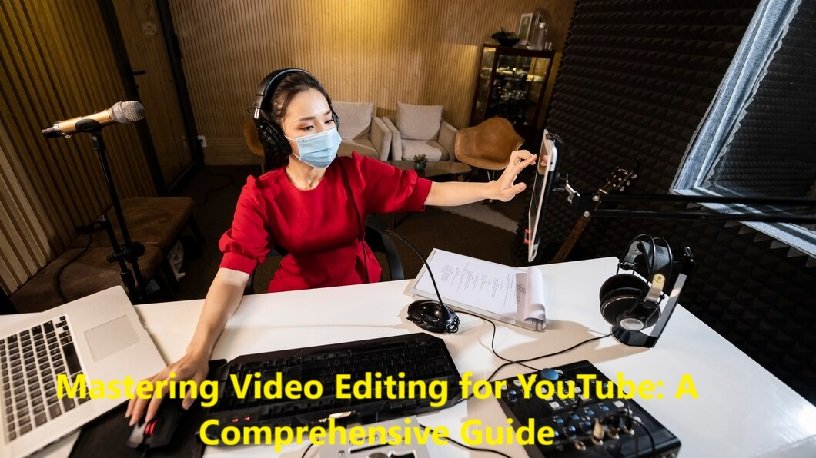
In the digital age, YouTube has emerged as a powerful platform for creators to showcase their talents, share stories, and build communities. Video editing is a crucial skill for any aspiring YouTuber, as it can significantly enhance the quality and engagement of your content. Here’s a comprehensive guide to help you master video editing for YouTube.
1. Choosing the Right Software
Selecting the right video editing software is the first step. Here are some popular options:
- iMovie (Mac): Free and user-friendly, ideal for beginners.
- Adobe Premiere Pro: Industry standard, offering advanced features. Also consider using Adobe Express video editing software for quick editing
- Final Cut Pro (Mac): Professional-grade software with a steep learning curve.
- DaVinci Resolve: Free version available, offers high-quality editing and color grading.
- Filmora: User-friendly with a range of features, suitable for beginners and intermediate users.
2. Understanding Basic Concepts
Before diving into editing, familiarize yourself with the basic concepts:
- Timeline: The workspace where you arrange your clips.
- Clips: Individual video segments.
- Transitions: Effects used to move from one clip to another.
- Effects: Visual enhancements like filters, animations, and overlays.
- Audio: Background music, sound effects, and voiceovers.
3. Organizing Your Workflow
Efficient organization is key to a smooth editing process:
- Import Media: Transfer all your video clips, audio files, and images into your editing software.
- Create a Project: Set up a new project with the desired resolution and frame rate.
- Organize Folders: Use folders to categorize your media for easy access.
4. Editing Techniques
Here are some essential editing techniques to enhance your videos:
- Cutting and Trimming: Remove unwanted parts of your clips to keep the video concise.
- Transitions: Use subtle transitions to maintain a smooth flow between scenes.
- Color Correction and Grading: Adjust colors to enhance visual appeal and maintain consistency.
- Adding Text and Graphics: Use text overlays and graphics to add information or visual interest.
- Audio Editing: Sync audio with video, add background music, and adjust volume levels.
5. Advanced Techniques
For a more polished look, consider these advanced techniques:
- Green Screen: Replace the background of your video with a different image or video.
- Slow Motion and Speed Ramping: Alter the speed of your clips for dramatic effect.
- Keyframing: Create complex animations and effects by setting keyframes.
- Multicam Editing: Sync and switch between multiple camera angles for dynamic storytelling.
6. Optimizing for YouTube
To ensure your video performs well on YouTube, follow these tips:
- Resolution and Frame Rate: Export your video to the highest resolution possible (1080p or 4K) and use a standard frame rate (24, 30, or 60 fps).
- Aspect Ratio: Use a 16:9 aspect ratio for the best viewing experience.
- File Format: Export in MP4 format with H.264 codec for optimal quality and compatibility.
- Thumbnails and Titles: Create eye-catching thumbnails and compelling titles to attract viewers.
7. Publishing and Promoting
Once your video is edited and optimized, it’s time to publish and promote:
- Upload: Follow YouTube’s guidelines for uploading your video.
- Metadata: Add relevant tags, descriptions, and keywords to improve discoverability.
- Promote: Share your videos on social media, your website, and other platforms to reach a wider audience.
Conclusion
Mastering video editing for YouTube requires a combination of technical skills, creativity, and a keen eye for detail. By choosing the right software, understanding basic concepts, and applying both essential and advanced techniques, you can create engaging and high-quality content that resonates with your audience. Keep practicing and experimenting to continuously improve your editing skills and grow your YouTube channel.


